DIY Craft of The Season: Mason Jar Snow Globes
 Tuesday, December 11, 2012 at 6:00AM
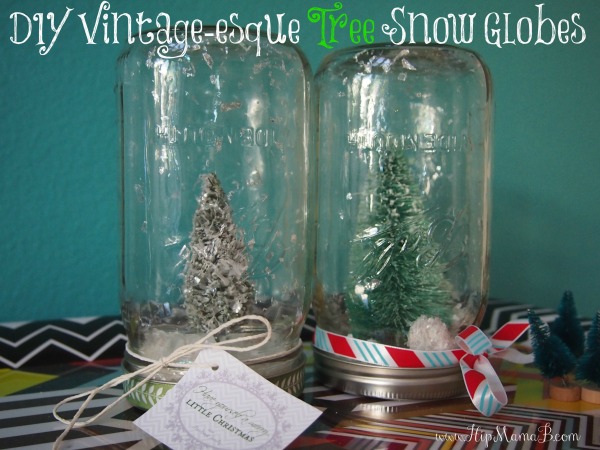
When I saw these at my local Anthropologie retailing for about $28 my first thought was immediately "I can SO make these for SO much less." And since I need to throw myself into at least one craft a year, I went on a mission to make the perfect mason jar snow globes.
And since all the postings on Pinterest for this craft seemed to just be a basic "HOW TO" - I thought I would take you deeper into what I have learned while trying to make these "craftacular."
1) The Trees:
The best ones to use are actually the ones from Michaels that are meant for the California Missions. Now, that being said, I'm not sure they sell all the California Mission stuff outside of California. {Duh} But I'm sure your local craft store has little model trees. Don't get the super little ones. They get lost. Get the ones that are about 5 inches or so tall.
2) The Snow:
I used 3 kinds of "snow"
- Snow Neige - WOW, I love this stuff. It's perfect for spraying on the little trees to flock them a bit.
- Glittery Craft Snow - also from Michaels. Just a little bag.
- Regular Flakey Craft Snow - Used to create scenes with the ceramic Christmas houses, this is a pretty big bag. I actually put the glittery ones and the regular ones in a big ziploc bag to mix together.
3) The Mason Jars
This is where me doing this first can help you out. You want the QUART sized, Wide Mouth, as plain as you can get jars. Don't do the "quilted" ones because you can't see the trees though them. Also, pint sized jars are too short for the trees. Most grocery stores carry a decent selection of mason jars and they run about $12 for a dozen.
If you want to do a bigger display, Target does have glass jars for about $5 each.
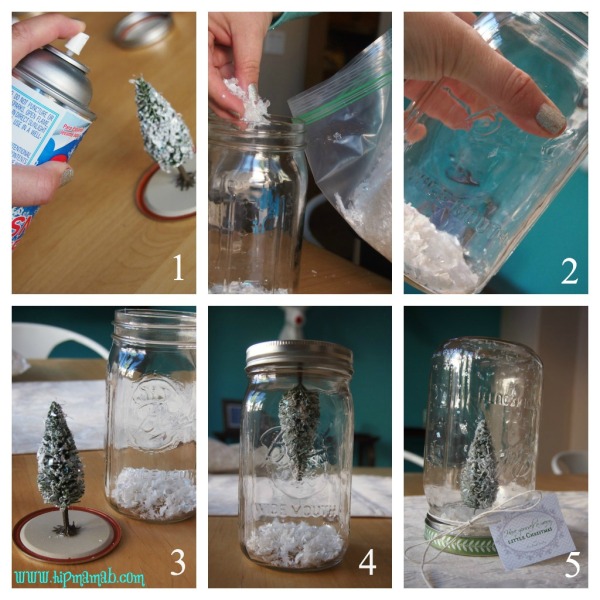
The steps:
1) Flock the trees with Snow Neige and try not to go crazy and flock everything in sight. {real issue, I promise. It's SO MUCH FUN.}
2) Use glue dots to secure the flocked trees to the inside of the lids.
3) Put about 2 pinches of the snow mix into the jar. Just enough to cover the bottom of the jar. You really don't need a lot at all. If you use too much it will bury the tree. (plus the more times you take it out and put it in the bigger the mess you will make)
4) Put lid on and flip over. Voila!
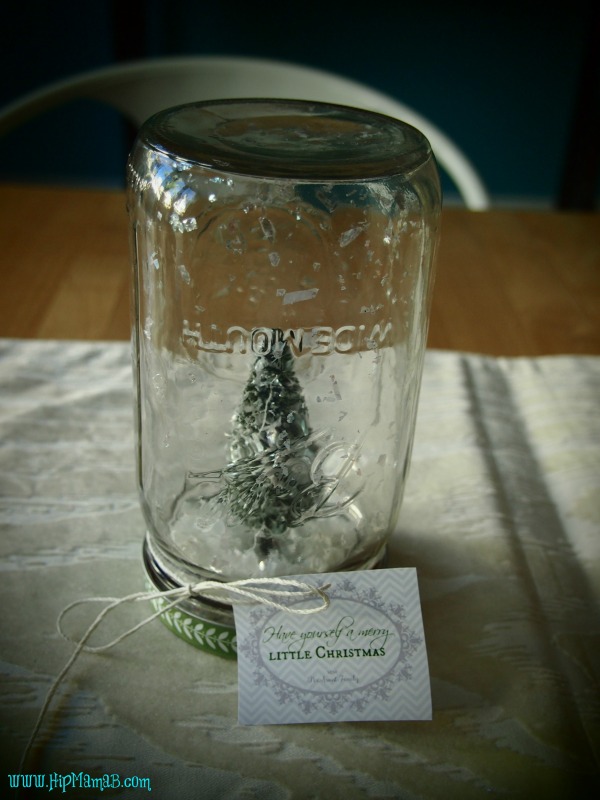
5) I tied a little ribbon around the bottom for a festive look. But you can use twine or add a little tag.
These turned out SO cute I can't stand it. They are a perfect hostess gift for all those parties or even just little things to give to your neighbors. Also would make a good Teacher gift OR if you are the room mom that needs to organize the Holiday craft, this would be a good one!
Also, if you went crazy with the Neiman Marcus/Target collection and bought way too many of the Tory Burch lunch boxes thinking they would sell out in moments and that you would be the COOLEST friend ever by having extras to give as presents {yea, who could I be talking about?!} these jars fit perfectly into these lunch boxes and it looks super cute.
 DIY,
DIY,  Holidays,
  holiday crafts,
  mason jars,
  presents in
  Crafty Crap,
  Holidays

